Thanksgiving countdown: 11 days to go! Are you ready? Let me share one of my most important tips with you. Before starting all of the prepping, cooking, and baking for Thanksgiving, you have to get your kitchen optimized. Starting about ten days before guests arrive, I complete a deep clean of my kitchen and a quick organizational refresh. This helps me to feel uncluttered and prepared for hosting and all of the work that lies ahead.
I thought I would share the five main categories that I focus on when preparing my kitchen for Thanksgiving. They are basic cleaning, fridge organization, drawer organization, kitchen gadget updates, and ambiance. Focusing on these critical areas of your kitchen will ensure a smooth Thanksgiving Day.
1. Cleaning
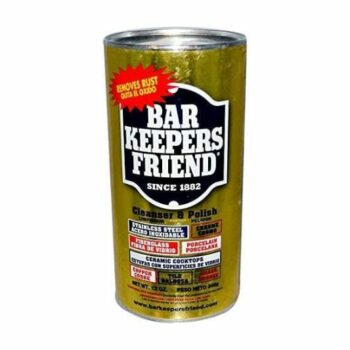
The first step is always the deep clean. Which for most people is not much fun! I’m all about ease with this step. I always reach for Barkeepers Friend– it seriously cleans almost everything in the kitchen. It works for removing blemishes from stainless steel pots and pans, the stovetop, the oven door, the sink, glassware, and even some flatware.
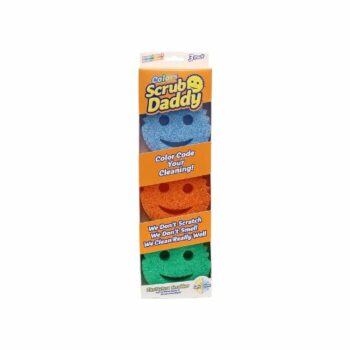
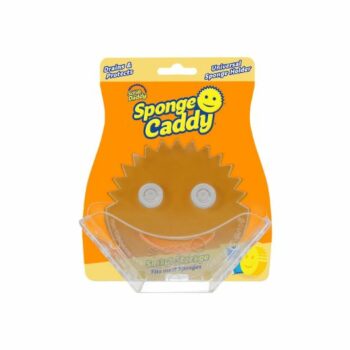
Next, I use these amazing Scrub Daddy Sponges. They are adorable and they even sell a holder for them called a Scrub Caddy. They come in a bunch of different colors. I definitely feel like they encourage my kids to help out with the cleaning, too.
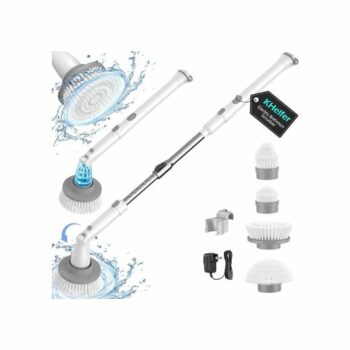
Finally, I invested in an Electric Spin Scrubber which is basically a scrub brush with a motor and an extension arm. You can use it in the kitchen sink, on the floors, and even in the shower. It definitely takes the hard work out of deep cleaning.
2. Fridge Organization
The next step in the kitchen glow up is cleaning and organizing the refrigerator. I give all of the shelves and interior surfaces a quick surface wipe down, and then I go through each section and double check for anything expired and toss it. This is also a great time to take inventory of anything you might be low on that you will need for cooking Thanksgiving week.
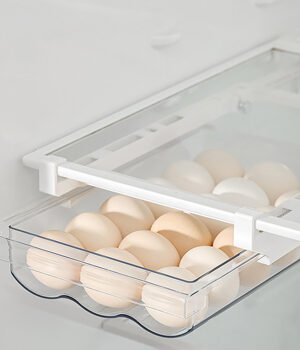
There are so many amazing organizational tools out there for the fridge, but for me these are top the list. This fridge egg drawer slides onto your existing shelf, creating a super convenient and out of the way location for storing your eggs. No more egg carton tetris!
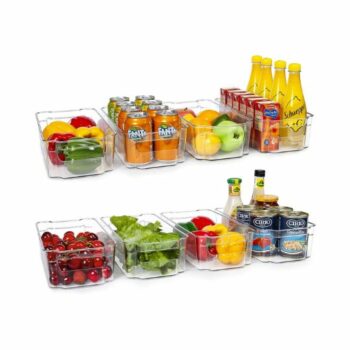
I also love these organizer bins. They work in the fridge, freezer, and even the pantry. In the fridge I use them for storing fruits, veggies, or to group items together by category (like salad dressings or cheeses). You can get really creative and even organize your items by color for some visual appeal.
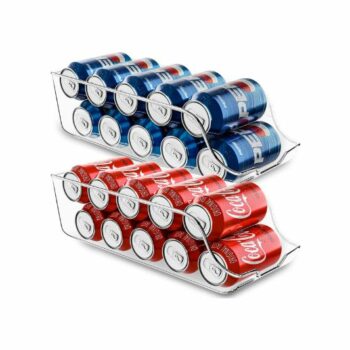
And to perfect your host game, try organizing your refrigerated beverages into these Drink Organizers. You can sort by alcoholic/non alcoholic and they make it easy to see if you are running low on anything. These work great in a dedicated beverage fridge or your main refrigerator.
3. Drawer Organization
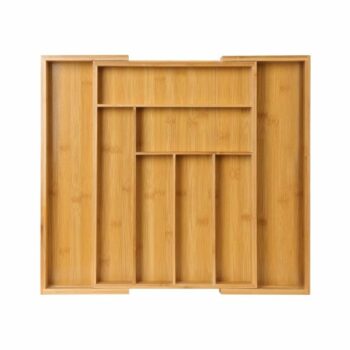
Next you’ll want to focus on drawer organization. I never want to be scrambling, looking for items while in the middle of preparing a meal. I like to use this Pipishell Bamboo Expandable Drawer Organizer for Utensils this way when I reach for a utensil I know exactly where it is without digging in a drawer wasting precious time!
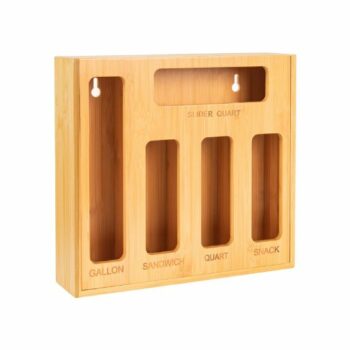
I love the Ziploc Bag Drawer Organizer. This simple tool saves your drawer from the clutter of assorted boxes, and streamlines your lunch prep process.
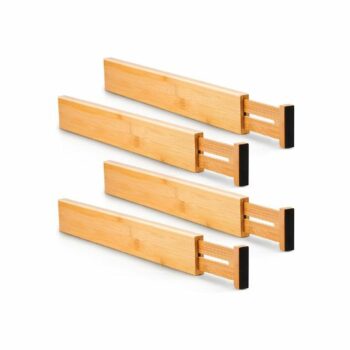
And to turn any miscellaneous kitchen drawer into a multifunctional organizational masterpiece they make these Kitchen Drawer Dividers! They work in either direction to keep everything from sliding around or getting mixed up.
4. Kitchen Gadgets
These are my favorite essentials when prepping for the holidays (and any meal really).
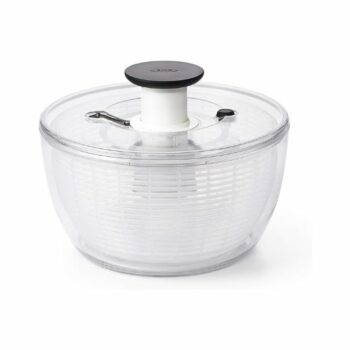
I start prepping by cleaning all of my produce with the OXO Salad Spinner. I like to soak my produce to get a good clean before cooking. This spinner works for both the soaking step and then you spin it to get rid of all the excess water. I love multi-functional kitchen gadgets!
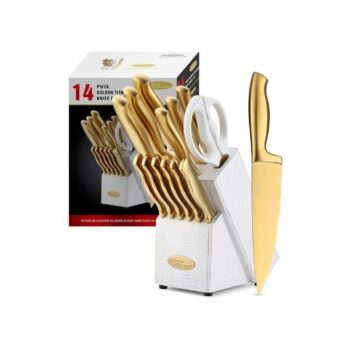
This glam white and gold Knife Set is my new obsession. There’s a $50 off coupon on Amazon right now… so just buy it! Otherwise you’ll never forgive yourself. This set comes with multiple types of knives to prepare any meal from start to finish. Plus its beautiful, who wouldn’t want to display this on your counter?
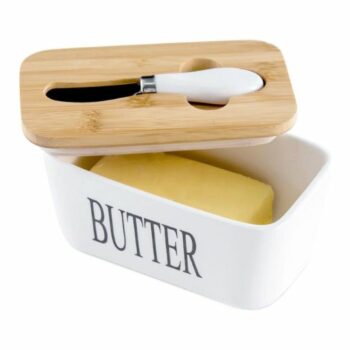
Don’t forget the Butter Dish, because there is nothing worse than trying to butter some toast or bake a recipe and finding hard butter. This dish will ensure you don’t forget to take out the butter. You’ll thank yourself on Thanksgiving Day as well when it’s time to butter the rolls!
5. Ambiance
Finally, set yourself up for good vibes from now through the holidays by creating ambiance.
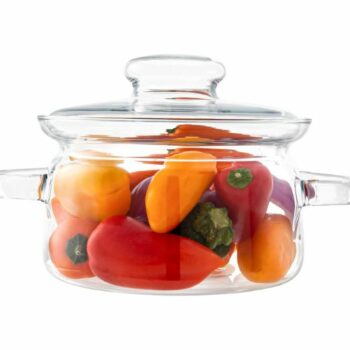
This time of year is perfect for using a Simmer Pot. If you don’t already know, a simmer pot is a pot that you add aromatics to, then cover with water and allow to simmer. The aromatics fill your house, invigorate your senses, and get everyone in the Thanksgiving mood! I love to use apples, oranges, cinnamon sticks, nutmeg and honey. The scents envelope you as you tackle your to do lists, and greet your guests as they enter your home. Orange helps encourage motivation, while cinnamon promotes relaxation, so you don’t get too stressed out!
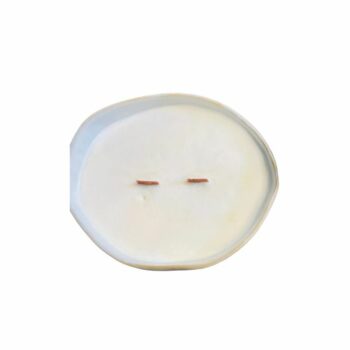
A candle is another great and easy way to create visual and aromatic ambiance. Grab yourself a School Scents Candle, which you may remember from my previous posts. School Scents is a small New Jersey business founded by a mom and her teens. Their candles are all eco-friendly, non-toxic, and sustainably crafted. I am so excited for their Holiday collection!
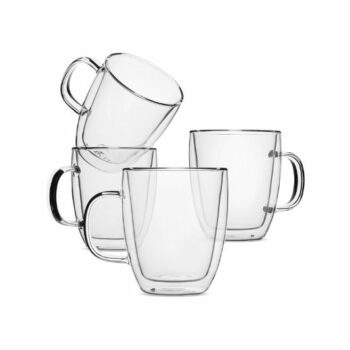
How many times a day do you microwave the same cup of coffee? Sure you could use a tumbler, but there is just something more cozy about drinking a hot beverage from a mug while at home. These Perfect Insulated Mugs are my solution. They are 16 oz, the same size as a grande latte, and are suited for tea, hot coffee, or even some freshly mulled wine.
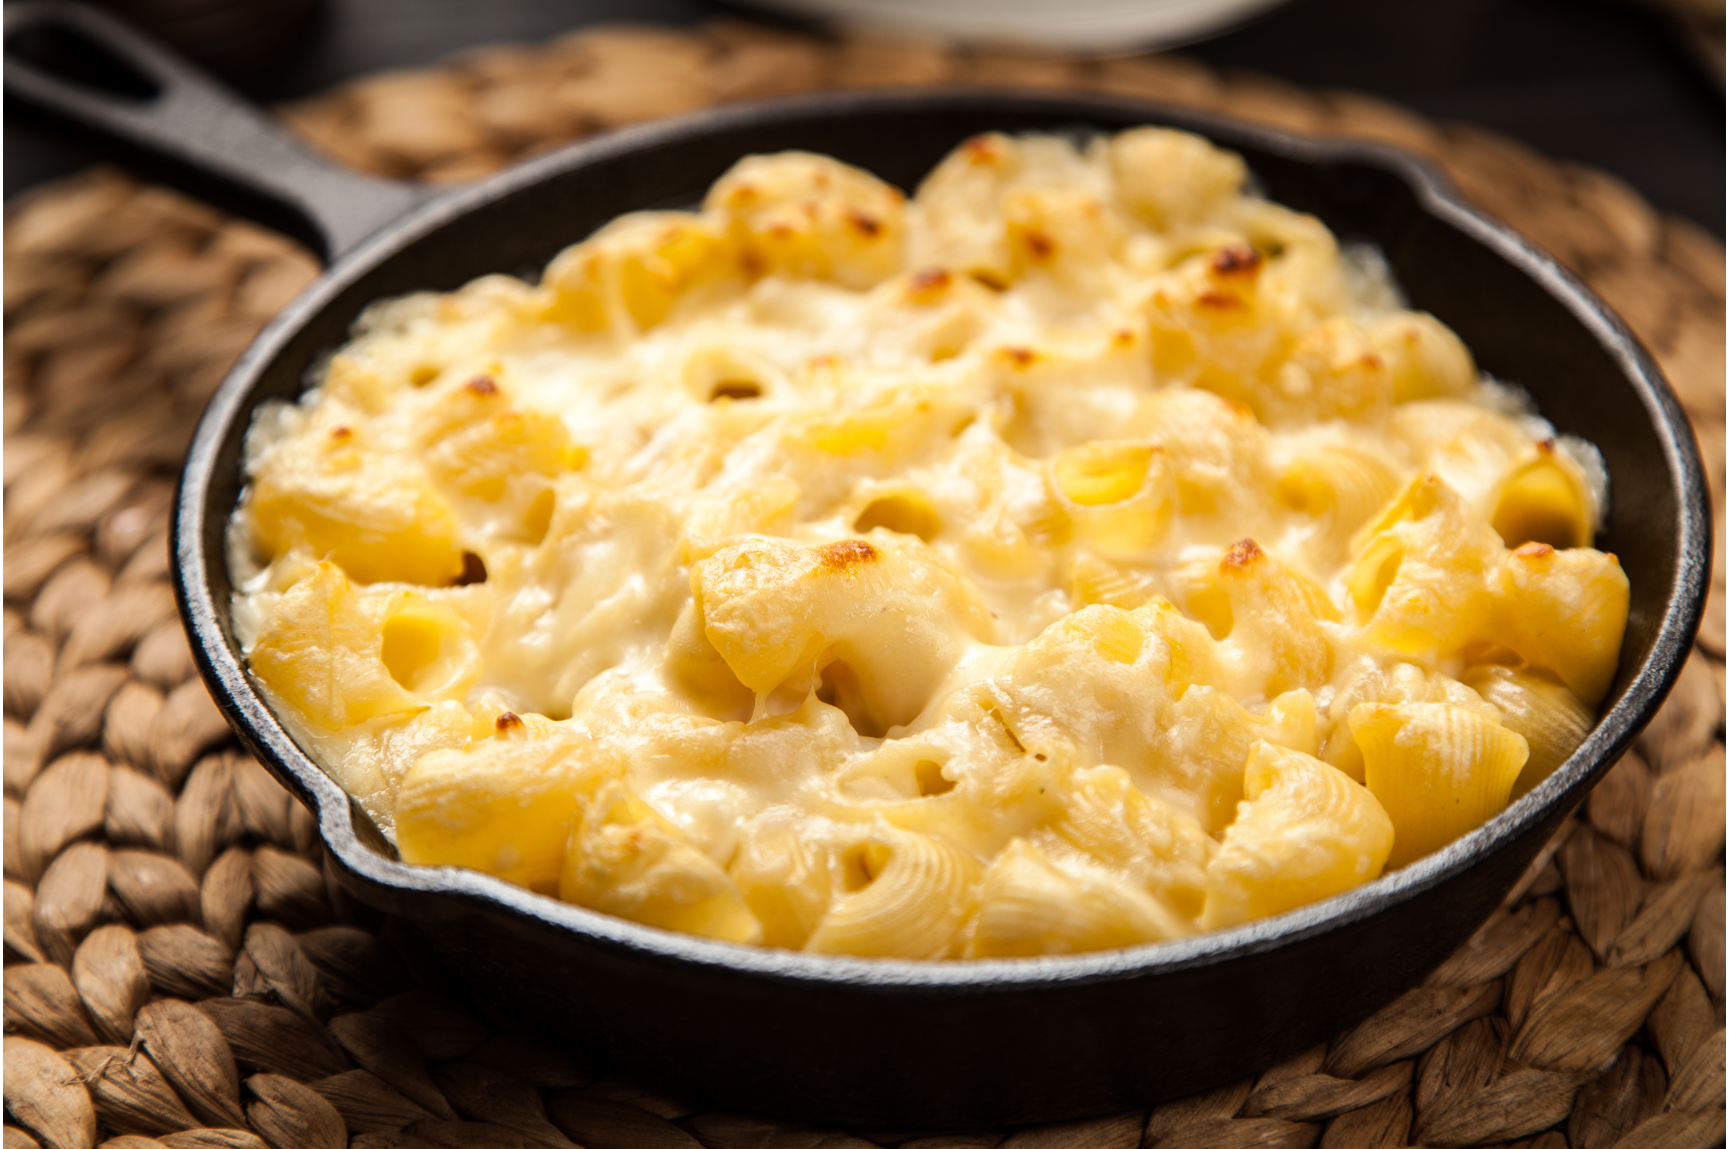
Now that your kitchen is cleaned, organized, and feeling and smelling sensational, it’s time to get to the fun of cooking and baking. Yes, it is fun when well prepared! Thanksgiving Dinner wouldn’t be the same if I didn’t make my famous macaroni and cheese. I usually don’t give out my recipe, but I’m feeling generous! Read below for the recipe, or click to download the recipe card!
Burleson Mac n’ Cheese
My recipe is extra cheesy, feeds a crowd, and aIso reheats great as leftovers. Enjoy!
Ingredients
- 1 – 16 oz box of elbow macaroni (or other tubular pasta)
- 2 tbsp extra virgin olive oil
- 6 tbsp unsalted butter
- 1 tbsp all purpose flour
- salt and pepper to taste
- 4 tsp onion powder
- 2 tsp garlic powder
- 1 tsp ground mustard
- 3 cups 2% milk
- 4 tbsp butter melted
- 4 cups sharp cheddar cheese
- 4 cups blended shredded cheese
Example
- 2 cups of Monterey jack or colby jack
- 2 cups of triple cheddar or
- 1 cup of cheddar/1 cup mozzarella shredded
- 1 block of Velveeta Cheese
Directions
- Preheat the oven to 350℉.
- Combine the 4 cups of mixed shredded cheeses in a large bowl and set aside.
- Cook the pasta one minute shy of al dente according to the package directions. Set milk out while pasta is boiling so that it is room temperature.
- Remove the pasta from the heat, drain, and pour into a 13 x 9 oven-safe baking dish.
- Drizzle the pasta with olive oil and stir to coat. Add salt, pepper, 2 tsp onion powder, and 1 tsp garlic powder and stir some more.
- Sprinkle the noodles with 3 cups of the shredded cheese blend. Stir and allow cheese to melt into hot noodles. Set aside.
- Combine 4 tbsp of butter and 3 cups of milk in a deep saucepan, dutch oven, or stock pot over medium heat.
- Whisk in flour, ground mustard, and remaining 2 tsp of onion powder. Continue whisking for about 1 minute until bubbly and golden.
- Cut the Velveeta block in half and stir one half at a time into the butter and milk mixture. Keep stirring until all of the Velveeta has melted. Sprinkle in salt and pepper to taste. (You don’t need much.) Stir mixture until sauce is thick.
- Add 2 cups of sauce to the baking pan with the noodles, then add 2 cups of shredded cheddar cheese to noodles and stir to combine. Add another cup of sauce. Sauce should be nice and thick.
- Top with the remaining shredded cheese.
- Bake 20 minutes, or until the top layer of cheese is bubbly or light golden brown.
- Let macaroni and cheese cool for a few minutes before serving. Enjoy!
Happy hosting!
With love,
AB



Leave a Reply